
DIY Natural Healing Gel
Whether you’re a hiker, gardener, or have kids at home, it’s likely you’ve dealt with a cut, scrape, or burn at some point. These injuries can range from minor to severe, but they all have one thing in common – the need for effective first aid.
While there are plenty of commercial products available for treating burns, cuts, and scrapes, it’s also possible to make your own healing gel using natural ingredients. This post will show you how to make a DIY natural healing gel using aloe vera and other herbs.
The Benefits of Aloe Vera for Skin Healing
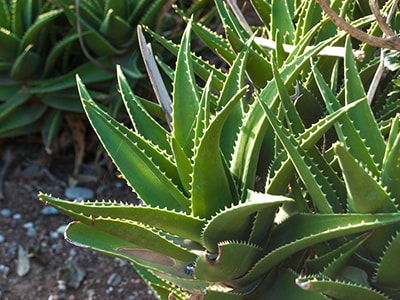

The base of our DIY healing gel is Aloe Vera (Aloe barbadensis) gel. Aloe vera is well-known for its skin-healing properties, which have been used for centuries to treat burns, cuts, and scrapes. Today, skin care is full of aloe products – from face wash to after-sun lotion.
Aloe vera gel is 99% water, but it also contains substances known as glycoproteins and polysaccharides, as well as other vitamins, minerals, enzymes, and amino acids that are great for the skin.
Glycoproteins speed the healing process by stopping pain and inflammation, while polysaccharides stimulate skin growth and repair. These substances may also stimulate the immune system, making aloe vera an excellent natural remedy for a variety of skin conditions.
However, those who are allergic to other plants in the lily family, such as onion and tulips, may experience skin irritation, hives, cramping, and diarrhea if they use Aloe vera topically.
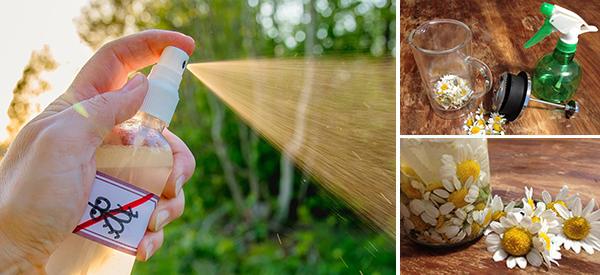
Calendula and Chamomile Infused Oil
We’ll be adding calendula and chamomile oil to this homemade healing gel.
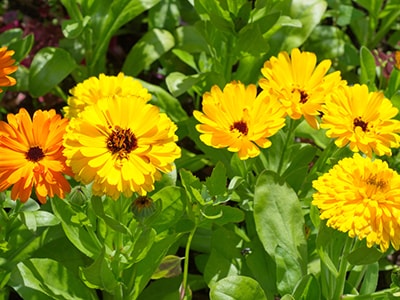 For centuries, natural healers, homesteaders, and herbalists have been using calendula (Calendula officinalis) medicinally. This herb offers extensive benefits for the immune system, skin conditions, and infections, whether used internally or externally. Calendula works its magic by promoting the repair and growth of cells, and it’s a natural anti-inflammatory, anti-fungal, and antiseptic. What sets Calendula apart from other natural remedies is its gentle nature – you don’t need to worry about going overboard with its usage.
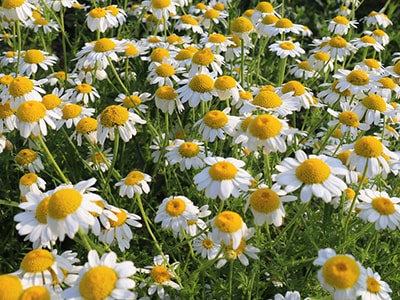 Chamomile, scientifically known as Matricaria chamomilla, is enriched with a natural antioxidant called apigenin. This potent ingredient helps reduce skin inflammation, making it an ideal choice for individuals with sensitive skin. Chamomile has a unique blend of three naturally occurring compounds, namely chamazulene, bisoprolol, and apigenin, which have a remarkable ability to calm and soothe irritated skin. These compounds work in unison to promote cell regeneration and heal damaged skin.
Finally, we will enhance the benefits and add a pleasant aroma to our healing gel by incorporating Lavender (Lavandula angustifolia) essential oil. Renowned for its healing properties, lavender is arguably the top essential oil for treating burns, cuts, and other skin conditions. With its potent anti-inflammatory, antifungal, antimicrobial, and detoxifying properties, lavender essential oil can effectively reduce redness, soothe and calm the skin, and quickly heal minor wounds and rashes. With such excellent skin-healing and soothing ingredients, this healing gel is an essential product for every household.
While lavender essential oil needs to be purchased, I recommend making the calendula and chamomile oil yourself – it’s not hard! To create the calendula and chamomile oil infusion, there are two methods:
Traditional Method
The traditional way, also known as the sun infusion method, is to place your dried herbs into a jar, cover them with a carrier oil, seal the jar, and let it sit in sunlight for 4-6 weeks, shaking it up on occasion.
Heat Infusion Method
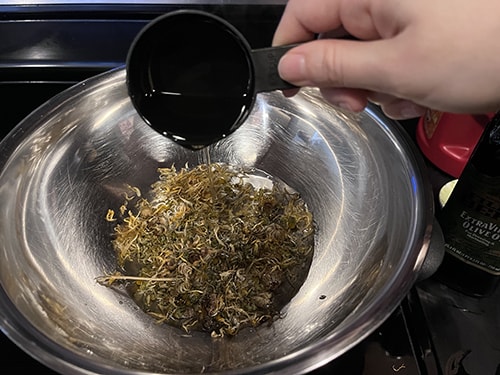
If you’re short on time, there is an alternative method to infuse your oil. You can use a double-boiler or a crockpot to gently heat up your oil and herb mixture without burning or cooking the herbs. To make a double-boiler, you’ll need a large pot and a smaller pot or metal bowl to place inside it. For this recipe, I used: 0.5 cups of extra-virgin olive oil, 0.25 cups mixture of dried chamomile and dried calendula.
- Fill the larger pot with 2-3 inches of water and place the smaller one into the pot so that it’s just above the water level. It’s essential to avoid direct contact with the water as it will make the oil too hot. The idea is to let the steam from the water heat the contents of the smaller bowl slowly.
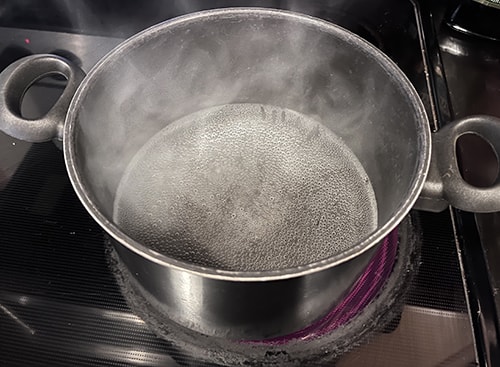

- Place the pot over medium heat and let it simmer. Pour your oils and herbs into the smaller pot and let them warm up for 3-4 hours. Just make sure the herbs are fully submerged in oil.

- If you notice the water boiling out, add extra water to keep it simmering. The herbs will start to release their aroma, and by the end of the four hours, you will have a beautifully infused oil that you can strain and use in various ways.
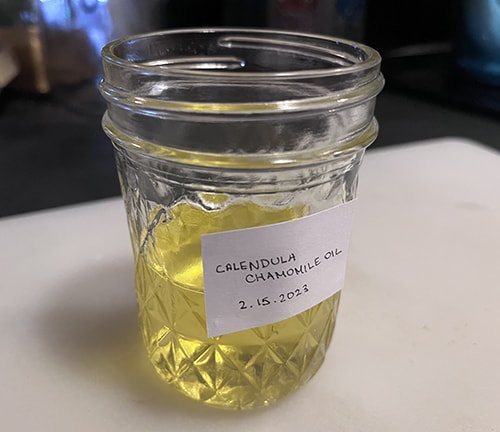
- Use a cheesecloth to strain out the plant matter from the oil and transfer it into a small jar. Label the jar with today’s date and the types of herbs used. Make sure the oil cools entirely before adding it to your healing gel recipe.

What Type of Carrier Oil Should You Use?
When it comes to choosing the right oil for your herbal infusions, the good news is that you have a lot of options. In fact, you can use almost any oil you have on hand: olive oil, coconut oil, jojoba oil, grapeseed oil, rosehip oil, sweet almond oil and others. In my case, I am using extra-virgin olive oil, which is readily available in my kitchen. However, it’s important to note that virgin cold-pressed or unrefined oils are considered to be of the highest quality for skin care purposes. Therefore, it’s best to use these types of oils for the best results.
How to Make Aloe Vera Gel
Aloe vera gel can be purchased in its pure form or made at home if you have the plant. To extract the gel from a fresh aloe leaf, begin by cutting off an outer leaf at the base of the plant or using a store-bought one.
Steps:
- Thoroughly wash the leaf to remove any dirt.
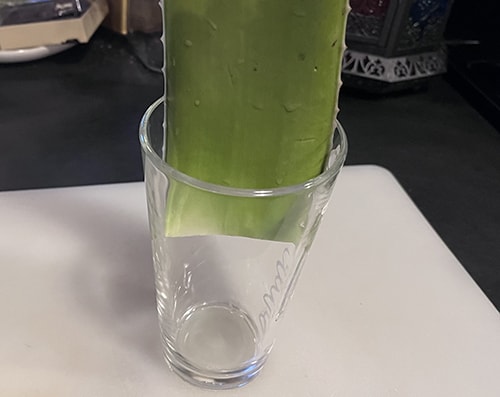
- Stand it upright in a tall glass for 10-15 minutes with the “cut” side down. This step is important as it allows the yellow resin to drain out of the leaf. The resin contains latex which can be irritating to the skin.

- After the time is up, rinse the leaf to remove any remaining residue.
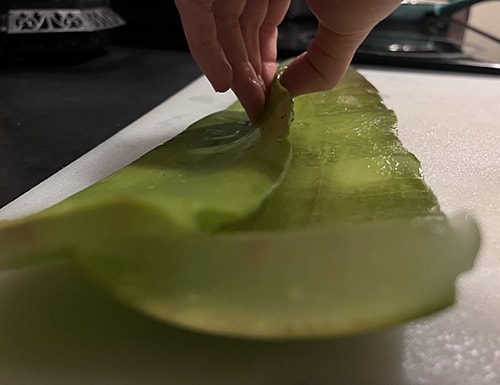
- Use a small knife to peel off spiky edges. Be careful not to cut too deep to remove any of the beneficial gel.
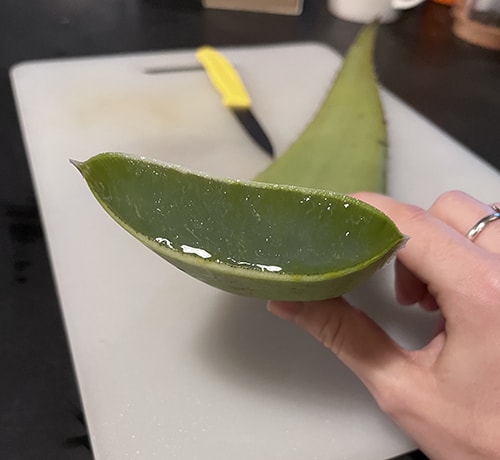

- Then, use a peeler or a knife to remove the remaining pieces of skin. Once the skin has been removed, you’ll see a clear gel, which is what you’ll be using as the base for your Natural Healing Gel.

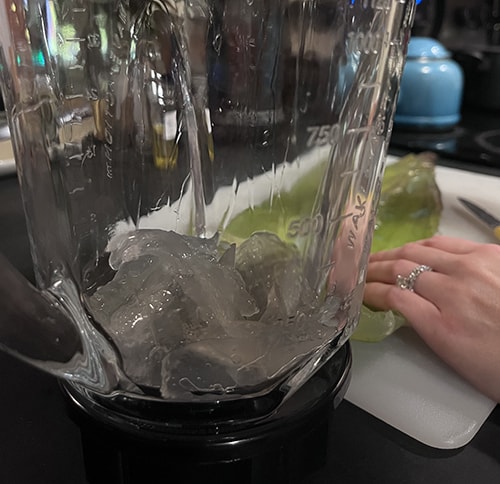
- Scoop the gel into a blender, leaving behind any yellowish or greenish pieces, and blend it until it becomes frothy and liquefied. I got almost 1 full cup of aloe vera gel out of my aloe leaf.

Add Herbal Oils
While the gel is still in the blender, it’s time to add your herbal oils to the mix. Your chamomile and calendula-infused herbal oil should be strained, cooled, and ready to use at this point.
To create your healing gel, here’s what you’ll need for every 1 cup of aloe vera gel: 1 tablespoon each of chamomile and calendula oil and 5 drops of lavender essential oil.
- Blend these ingredients with your aloe vera gel for a few seconds to achieve a well-mixed consistency.

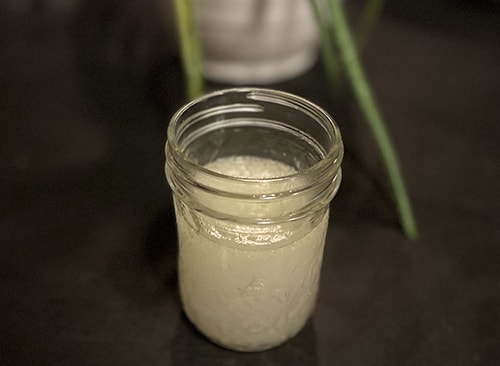
 Once you’ve finished blending, transfer the mixture into a small jar and store it in the refrigerator.
Shelf-Life
Keep in mind that it’s best to use the gel within a week.
To prolong its shelf life, you can add natural preservatives before blending. For every cup of gel, you can either use a pinch of powdered vitamin C, 1000 IU of powdered vitamin E, or both. With these natural preservatives, your gel can last up to 4-5 weeks when stored in the fridge.
If you end up with too much gel, you can freeze it in an air-tight container, and it will be good for up to seven months.
How to Use this Healing Gel
To use this gel, apply a small amount the size of a bean to the affected area and gently rub it in. The cool, soothing texture of the gel will feel great, and you should notice an improvement in your skin almost immediately. This gel is safe for daily use and can be applied to burns, cuts, rashes, and other skin issues until the skin has healed.
Where does it tell you how you can make it last for years?
Looks like the longest this will last is 7 months if frozen. Not 10 years like the post stated.
I don’t see that answer, either. The herbal tincture may last, but if you add the aloe, it won’t, so keep them separate?
This looks like a very useful recipe – but since you are mixing a water-base (aloe gel) to an oil base, I think you really need some sort of emulsifying agent. Plus preservative, as other people have commented, because once you have a water base, it can be vulnerable to mould and bacteria.
Commercial aloe vera will have some preservative added – I have some in my fridge (which is not really necessary, but will help extend its life in the sub-tropical climate where I live). So maybe just store them separately & mix as needed?
Hi Mara,
We’re glad to hear you find this recipe useful! The author of this article actually mentions adding preservatives. Vitamins C and E are powerful preservatives that can significantly increase the shelf life of your aloe vera gel. Though the gel contains some of these vitamins naturally, it is insufficient to keep the gel fresh for more than a week. Still, you can add more of one or both of these vitamins to increase the shelf life of your gel.
Yes, you can use an emulsifier if you don’t like your gel to look a bit separated from the oil. Alternatively, you can make a fresh blend by mixing the two ingredients when needed.
Many blessings and good health!
I am a bit disappointed that it isn’t really storable for ten years, as the link stated. Phooey.