
DIY Chili Patches for Quick Pain Relief
If you’re tired of relying on over-the-counter pain relievers and are looking for a natural way to soothe those aches and pains, homemade chili patches might just be your new go-to solution. These DIY chili patches for quick pain relief are also very easy to make. So, let’s dive in!
Cayenne & Turmeric: A Potent Anti-Inflammatory Combo


In this remedy I will also use turmeric for its powerful anti-inflammatory properties.
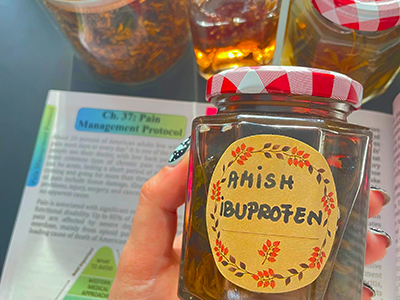
Turmeric is used for pain relief in various inflammatory conditions, like osteoarthritis, and is comparable to the effects of Ibuprofen, and other NSAIDS, in aiding these conditions. On its own, turmeric is not a quick fix but will help improve swelling and inflammation with continued use, typically between four and twelve weeks.
Combined, turmeric and chili pepper are a great natural remedy to ease pain. This is particularly true for joint, muscle and tissue pain as the capsaicin targets pain and the turmeric targets inflammation. Today, I will walk you through how to use these two ingredients to make homemade pain relief patches.
⇒ Why Should You Eat a Chili Pepper In The Morning? (Video)
How to Make
Be sure to wash your hands after using the powdered turmeric and chili, and avoid touching your face or eyes. Wash your eyes immediately if you accidentally get cayenne in them. If you suffer from asthma, please take caution while making this recipe as the cayenne powder fumes will release slightly into the air.
Please avoid any contact with your face and eyes. If contact occurs, rinse your eyes immediately and monitor for complications. Should any other interaction occur, discontinue use immediately and wash mixture off of your skin. Follow up with a doctor as necessary.
To be successful with this recipe, you may need to gather a few items in advance. You may already have cayenne powder, turmeric and olive oil in your cupboard. This recipe does not call for any specific brands, so you are welcome to use what you have at home or what is most convenient at the store.
You will need some form of waterproof sport tape, any variation so long as it will hold your patch when placed on your skin. A large shower bandage may also work. For the patches themselves, you will need gauze pads, whichever size is best suited for your needs. I found both of these items at Walmart.
The steps for the recipe will vary slightly depending on what type of beeswax you pick up at the store. I bought the beeswax shown in the photo below at Michael’s for $3.99 a piece. For this recipe, you will need two of these small blocks – 1.9” x 1.9” x .05”. You may also use beeswax beads, which are available for purchase at Michael’s or other local craft stores for about $15.99 a pound. Altogether, you will need a ½ cup of beeswax for a single recipe.
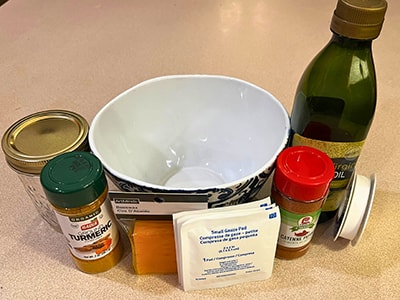
Ingredients:
- 3 tablespoons of cayenne powder
- 3 tablespoons of turmeric
- ½ cup of olive oil
- 1.9” x 1.9” x .05” beeswax as shown or ½ cup of beeswax pellets
- Gauze pads
- Waterproof paper tape
- Glass mason jars or similar
Steps:
- Mix 3 tbsp of cayenne pepper and 3 tbsp of turmeric with ½ cup of olive oil in a medium-sized bowl until evenly distributed.


- Pour mixed contents into a small- or medium-sized pot. Warm over medium heat for a few minutes, but do not let it come to a boil. Avoid fumes coming into contact with eyes. You’re welcome to use a lid on the pot, but keep an eye on it to be sure it doesn’t burn.
- As mentioned above, you may use beeswax blocks or beads for this recipe. If you’re using a beeswax block, chop a ½ cup of small square pieces before putting the cayenne pepper, olive oil and turmeric mixture on the stove as this can take up more time than expected. The smaller the pieces the better, as it will take less time and melt in a more consistent manner. If you choose to use beeswax beads, pour a ½ cup of the beads into the mixture on the stove and stir until the beeswax has melted evenly.
- Pour the mixture of melted beeswax, cayenne pepper, turmeric and olive oil into a small- or medium-sized bowl.
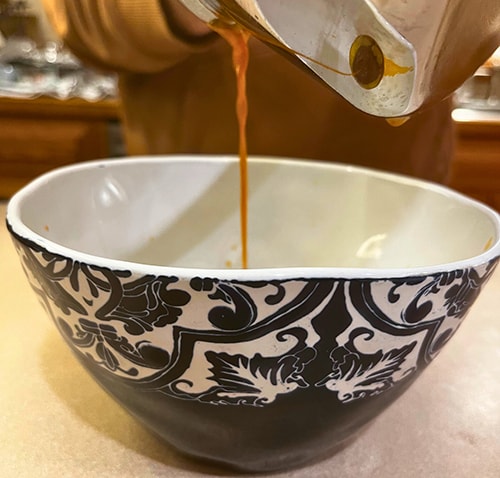
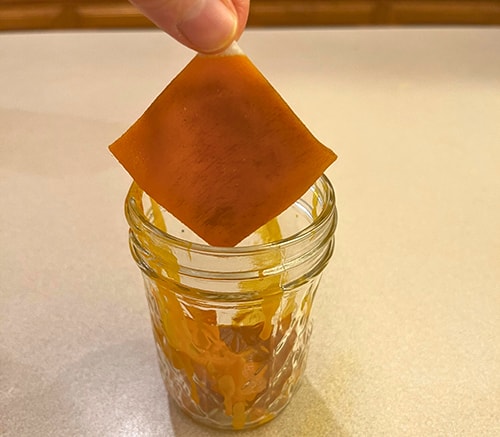
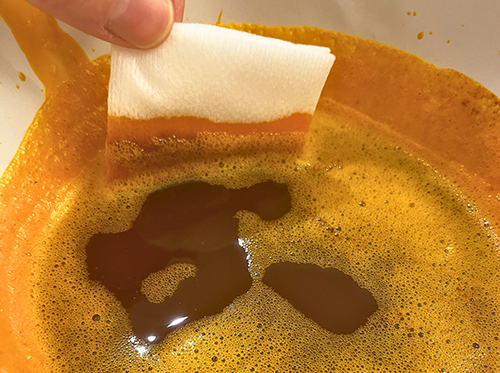
 Take your gauze pads and dip them fully into the warm mixture and place into your glass mason jar. No need to worry about them touching each other inside the jar, they will not stick together once cooled.
- Place the mason jar with the gauze pads in the refrigerator to cool for at least 30 minutes before use. Ideally, you will want the patches to be cool to the touch when ready to use.

- Be sure to always store the patches in the refrigerator. You may also save the remaining mixture by pouring it into another glass mason jar and storing it in the refrigerator. This can be used as a salve/cream in a similar way as the patches by spooning the mixture onto a bandage or rubbing the salve into your skin.
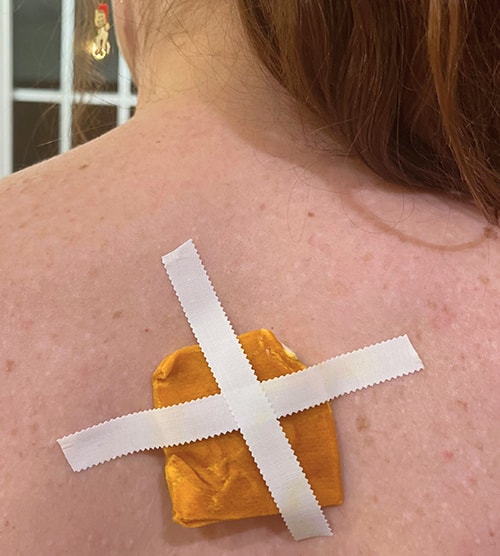

How to Use
Once cooled, place a patch on the affected areas. Cover the patch with either sports tape, as seen above, or with a large bandage or similar. I would recommend a larger bandage, however, the option worked fine as well. Leave on for a minimum of 20 minutes for full effect. The intended result should provide temporary pain relief to sore muscles or joints. A friendly reminder that turmeric takes multiple weeks to provide anti-inflammatory benefits, as mentioned earlier. For best results, use at least once daily.


Can’t wait to try this. I currently have infused chili powder with castor oil. I just rub the oil onto skin. Gives great relief for about 2 hours. I use on my spine for a subluxation and hips. Other family members use it for knees and shoulders.
How long do the patches stay good for in the mason jar in the fridge? And the leftovers you can use as salve?
I infuse cannabis into coconut oil for pain relief, I put the ingredients in a jar with the lid on loose, put it in my crockpot pour water to just above the line of the contents of the jar and turn the crockpot on warm and let it infuse overnight, I wonder if this method would work for this.
Andrea–Your method of cooking cannabis in coconut oil is one that we have used (but not with a slow cooker), but the coconut oil congealed so hard, it was a no-go. So, we switched out the coconut oil with grape seed oil and it is an excellent substitution! I use it daily on my face and neck. Very gentle. Good for 24 hours. Now it is time to try your slow-cooker method. I believe it will be superior.
is cayenne the same as cilli?
I mean chilli
No, cayenne pepper is also name Red Pepper, chilli pepper is a combination of peppers