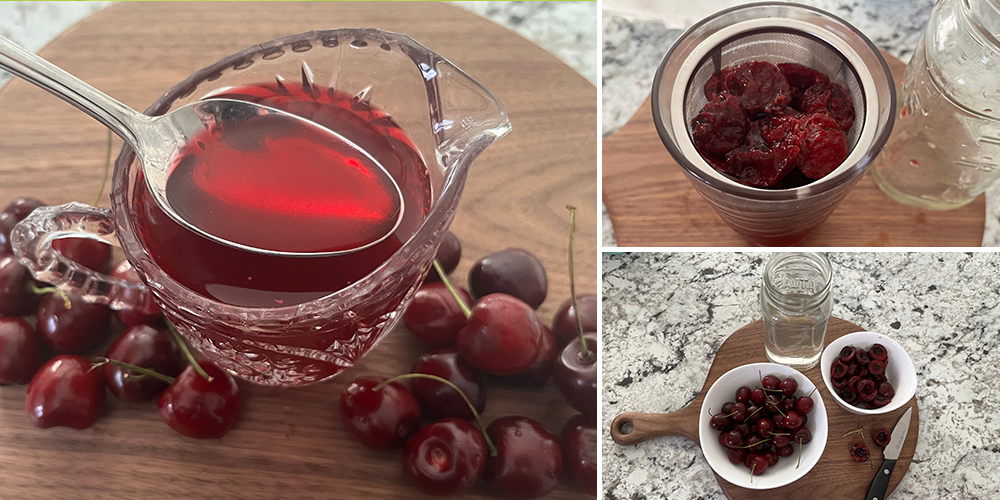
DIY Probiotic Cherry Vinegar
When you think of probiotics, you might immediately think of foods like kefir, yogurt, or kombucha. The cherry isn’t exactly the first food you might suspect to be a powerful tool for digestive wellness, but it is packed full of nutrients, prebiotics and probiotics that contribute to a healthy gut microbiome. Not to mention, it makes a delicious summer snack, which is the cherry on top!
While cherries themselves have a shorter shelf life, you can ferment your harvested cherries into a delicious DIY probiotic cherry vinegar that you can enjoy for years to come.
Health Benefits of Cherries
Nature’s true candy, cherries are not only delicious, but they’re also packed with antioxidants, particularly vitamin C. Immune-boosting Vitamin C also promotes clear, healthy skin. Cherries are also high in potassium, which is ideal for healthy muscle development, including your heart! Potassium helps regulate blood pressure, can protect against cardiovascular disease and prevent kidney stones. High in anthocyanins, cherries are also great for reducing inflammation. This is because they inhibit inflammatory proteins and reduce oxidative stress. This makes them a great anti-inflammatory ingredient for gout or osteoarthritis patients.
While there are nearly a thousand varieties of cherries, bing cherries (also called sweet cherries) are the most common. These are dark red cherries with a touch of acidity but are primarily sweet. Other varieties, such as Queen Ann (also called Royal Ann or tart cherries), contain fewer sugars and are slightly lighter in color.
Cherries and Gut Health
Like the rest of the human body, the gut is full of microorganisms. Probiotics are living microorganisms that support healthy bodily functions, including fighting off microorganisms that may threaten normal bodily functions. There are also prebiotics, which serve as the food for those probiotic organisms. While you can purchase probiotic supplements, many foods contain probiotics that can provide ongoing support to your gut microbiome. A healthy gut can contribute to a stronger immune system, boost brain function, reduce inflammation, and improve digestion.
New studies have found that cherries assist with both probiotic and even prebiotic gut health. Similar to other red-colored fruits, cherries are high in phytochemicals, particularly polyphenols. Polyphenols help encourage the growth of good gut bacteria, particularly Bifidobacterium and Lactobacillus. At the same time, polyphenols also suppress the growth of harmful gut bacteria. Cherries are also high in fiber, ideal for promoting beneficial gut bacteria and healthy digestion.
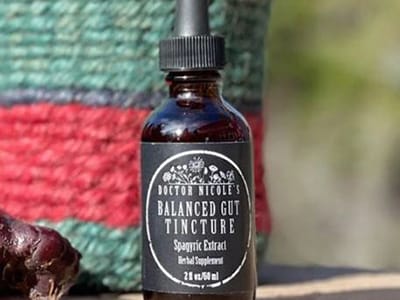 This remedy is so potent that the most popular tincture in Nicole’s Apothecary is based on it. It’s created specifically to target your gut immediately and rejuvenate it, restoring healthy gut function. You can check it out here! I’ve even shared my own review there with my thoughts and experiences… It’s totally worth reading it!
What Happens When You Ferment Cherries?
Fermenting foods is one of the oldest techniques of food preservation and has a history that dates back centuries. Fermenting your cherries into cherry vinegar enhances the production of lactic acid as the natural bacteria feed on the sugars and starches of the cherries. This process is called lacto-fermentation. It helps to preserve beneficial bacteria as well as enzymes and B vitamins. Vinegars like apple cider vinegar and cherry vinegar, are ideal for gut health in moderation because they contain natural probiotics but also contain acetic acid, which can kill harmful bacteria.
DIY Probiotic Cherry Vinegar:
You can easily make your own delicious probiotic cherry vinegar with just a few ingredients.
 Ingredients
 Ingredients
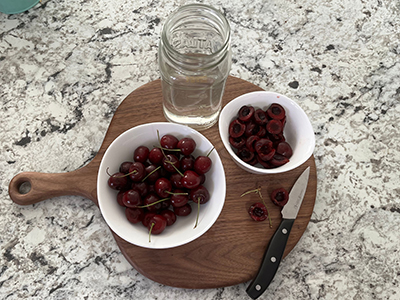
- 1 cup of washed, fresh tart or bing (sweet) cherries*
- Balanced Gut Tincture (40 drops per serving)
- 2 cups water
- A glass jar
- Cloth and Rubber to cover the jar
- A strainer or cheesecloth
*Make sure that you remove the pits and stems from your cherries. Cherry pits contain marginal amounts of cyanide, which is poisonous.
*The type of cherry you use may slightly impact the flavor. We will be using Bing cherries for this recipe, but you are welcome to use tart cherries or even black cherries if you prefer.
Step #1: Setting up your cherry vinegar to ferment
Inspect your cherries and remove any cherries containing mold. Make sure the pits and stems are also removed.
Place your cherries in a jar and completely submerge them completely in water.
If desired, you can also mix in brown sugar. Brown sugar may help jump-start the fermentation process, but it is not necessary to enjoy your cherry vinegar.
Leave room at the top of the jar for gasses to escape. Throughout this process, you will notice that the cherries will effervesce (produce bubbles), which is normal as long as there is room for them to form. 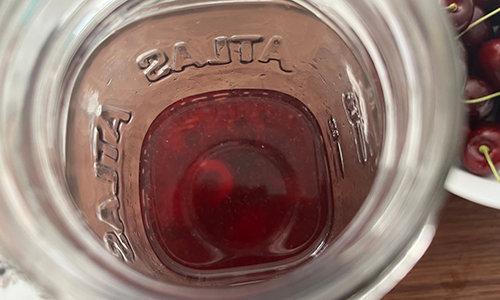
Break up the cherries in the water using either a muddle or a spoon. Cherries are pretty firm, so you may not get them to turn into a pulp. As long as they are broken open, this will help release the juices.
Next, cover your jar with a coffee filter, paper towel, or cheesecloth to help keep insects out. Do not seal it with a lid, as airflow is required for fermentation, and sealing the jar can lead to mold. 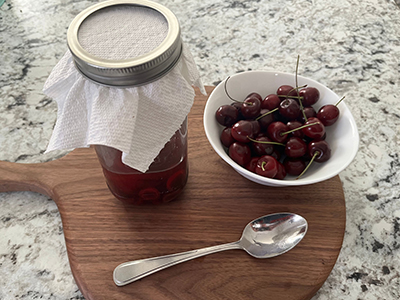
Store your jar in a dark, cool place, like a pantry or cupboard. Stir your ferment daily to prevent mold from growing at the surface. You can also use an orange peel to help keep the cherries submerged.
Over the course of two weeks, the water in the jar may become cloudy but eventually become clear. This is normal. During this process, the cherries will release their juices into the water. Those juices will convert from sugars into what will eventually become cherry vinegar.
Step #2: Straining
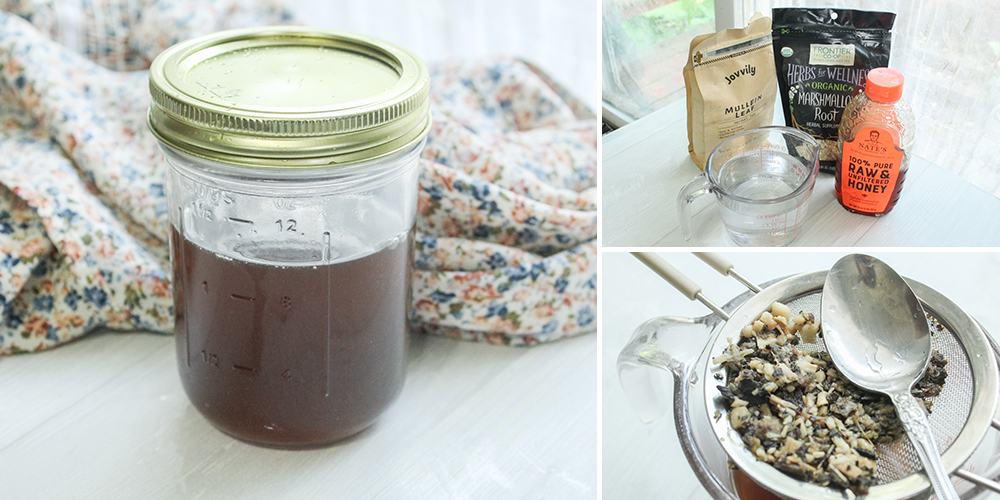
At the two-week mark, it is time to strain your cherries using a strainer or cheesecloth.
If you notice a white film developing at the top, this is called the “vinegar mother.” It is a biofilm of cellulose that forms when the sugar alcohols turn into vinegar, and it is a normal part of this process. You will also likely notice by now that there are fewer bubbles in your mixture, which means the fermentation has started slowing down.
Place your vinegar back in your cool, dark, dry location for another 2-3 weeks. Continue to stir your vinegar daily to prevent mold growth.
Step #3: Ready
Your vinegar should be ready and may even have an aroma. At this point, you can taste-test your vinegar, and if you enjoy its taste, you can begin adding it to recipes and meals. 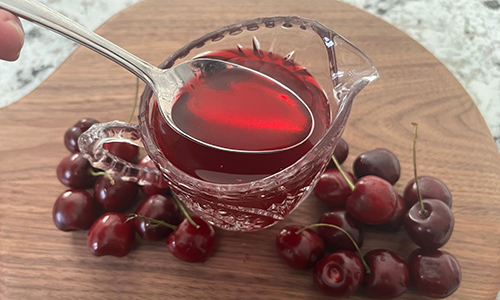
If desired, you can test the pH levels of your vinegar to determine if it has reached the vinegar’s pH range, which is below 3. At this point, it is shelf stable.
Mold and How to Avoid It:
In very rare cases, mold can form on the surface of your cherry vinegar. If you spot mold forming at the top of your fermenting vinegar, it is best to discard it and start over. For this reason, it’s best to make cherry vinegar in smaller batches, especially if it is your first time trying it at home. Before you try again, assess what may have caused the mold to form in the first place. Here are a few common causes for mold to grow while your cherries are fermenting:
Lack of airflow: It is important not to cover the jar as this will reduce airflow. Stirring your cherry ferment daily will also prevent mold from developing at the surface of your vinegar.
Oxygen exposure: During stages one and two, make sure that your cherries remain completely submerged to prevent mold from growing on them. This is another reason why stirring your ferment daily is key, since you can keep an eye for any cherries sticking out of the water.
Excessive heat: Heat will increase the speed of decomposition, so it’s essential to keep your cherry vinegar in a cool, dark, dry location. Keep temperatures below 75°F (24°C).
Mold presence: Mold spores can spread quickly in the air, so if mold is nearby, you are more likely to see mold forming on your ferment. This can also happen if the cherries that you are working with have started to develop mold.
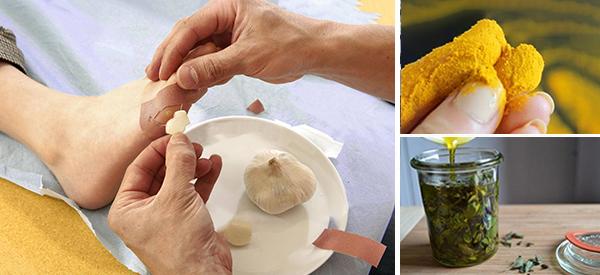
I learned all this information from a guide that taught me how to incorporate herbal remedies into my routine to address all the health conditions that were bothering me. I got it some time ago, but I think you can still get a copy… I’m hopeful there are any left so you can take less of those lab-made pills that give side effects… ugh. I’ll leave a link for you here!
How to Store Homemade Probiotic Cherry Vinegar:
When your cherry vinegar becomes shelf stable, store it in an airtight container in a cool location, away from direct sunlight. Depending on your kitchen setup, you may want to use a dark bottle to store your finished probiotic cherry vinegar. You can refrigerate your cherry vinegar, although you don’t need to. Cherry vinegar will last quite a long time, up to 3 years. This is because harmful bacteria cannot grow in an acidic environment.
How to Use Your Cherry Vinegar
Cherry vinegar is both delicious and versatile in the kitchen! You can substitute regular vinegar with cherry vinegar in various recipes, including salad dressings and sauces. Sweet and tangy, cherry vinegar pairs well with meat and fish and can be drizzled on sandwiches or bagels or even added to smoothies and desserts. Feel free to get creative with all the different ways you can enjoy your probiotic cherry vinegar.
Cherry Vinegar versus Cherry-Infused Vinegar:
Making DIY probiotic cherry vinegar is quite different from making cherry-infused vinegar. You are turning the cherries into vinegar instead of adding flavor to existing vinegar. Although you won’t receive the direct benefits of the fermented cherries, you can still enjoy the health benefits of fresh cherries with cherry-infused vinegar.
Here’s what you will need:
- 1/2 cup of fresh cherries with no pits or stems
- 2 cups white wine vinegar or apple cider vinegar
First, break down the cherries in the vinegar. Then, cover the mixture and infuse for up to a week in a cool, dark, dry location. After one week, strain your cherries and enjoy!

Where does the tincture come in to the recipe?
Because everything these guys post is just a link to sell you more… disguised as “information”.
That’s exactly what I wanted to know. She didn’t answer you, so I don’t know when you put that in. I’ve got my cherries in the jar. I need an answer.
Can you skip the tincture?
I’d buy some all made 😎
I’m confused… would this replace the gut tincture? Or do I add it to the recipe? If so, when am I supposed to add it?
Are you aware that if someone wants to print your pages that the pictures, which I think are integral to what you write, DO NOT PRINT. Someone programmed your system to do this.
Please change it back!
Do you have anything for Chronic Kidney disease