Plants You Can Grow in Water Bottles
Let’s say you’ve decided chaos is the way to go, and you’d like to make a garden out of all those water bottles you use every day. I’m right there with you on that one.
Please note that I only recommend clear bottles, ones that won’t project light on flammable surfaces, and ones that are completely food-safe. Let’s see what we can do to recycle some of these bottles. Even though I can’t fathom a situation where a bottle you’re drinking from is food-safe, lawyers like it when I cover all the bases.
Pint Bottles
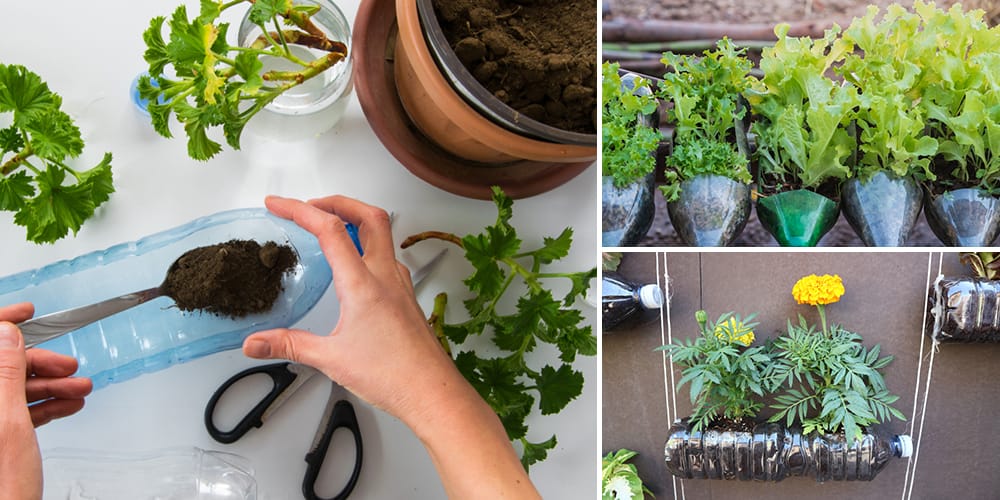
You won’t be able to grow a lot with these, but you can certainly start some smaller plants. Use pint bottles (like Mt. Dew bottles) for plant starters rather than full-time planters. They rarely wear down and will last you several seasons.
It is a good idea to save the bottle’s top and use it as a funnel later on. You can never have enough funnels. Make several drainage holes in the bottom of the bottle about 1/8th to 1/4′′ around. Use it as a fantastic seed-starting area by filling it with potting or planting mix.
Interested in growing in a 16- to 20-oz bottle? You’ll find dwarf peppers, vine beans, vine peas, and dwarf greens. If the top is removed, they make a nice plot for alfalfa sprouts and microgreens. Interested in something with a little kick but not a pepper? Try green onions. As long as the seeds have an inch or two of soil to root in, most green onions will grow.
Quart Bottles
The average soda bottle can hold a lot of plants. Can you grow watermelons this big? Sure, if you lay the bottles long-side down against the ground.
But, should you?
You can grow almost anything in this size, but I would recommend staying on the lower end of things. You can grow small flowers and herbs, along with a wide variety of vegetables.
By using these (and larger cavities) as planters, you may accidentally freeze or boil your plants alive since the plastic often begins to insulate the water within the soil.
This can be avoided by drilling drainage holes at least three inches below the surface of the soil and continuing around the container’s bottom. Because these materials lack the porous nature of typical planters (such as terra cotta), you still have a good chance of problems occurring even if you are underwatering.
Gallon and Near-ish
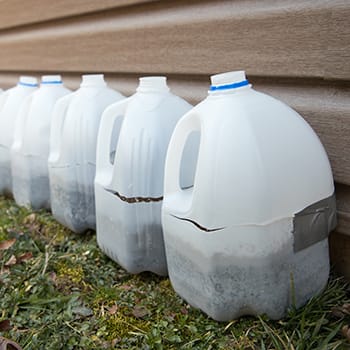
You have a few gallons of water sitting around and don’t know what to do with the empty bottles? Maybe they’re milk jugs you just can’t throw away.
It’s important to have drainage holes below the top of the soil all the way to the bottom of your container. Without those, you’ll have a soggy mess no matter what you do.
The plants that work well in this size tend to be bush beans, cucumbers, and even squash. It doesn’t make sense to plant a huge zucchini or pumpkin plant in a container, but butternut squash is fine with a 1 to 2-gallon container and will grow just as well and fruit as aggressively as it would in a pot.
Interested in growing medicinal plants at home and learning how to make easy remedies for common ailments? I recommend this Medicinal Garden Kit which has good quality, non-GMO seeds, plus a Herbal Medicinal Guide with instructions on how to properly grow and prepare your herbs.
The Big Boys
If you are a person who has access to water cooler mounts, let’s say. The part of the water cooler that actually holds water is the “jug” portion. It’s huge, right? Absolutely enormous. In fact, some are five gallons or more. If they were to tip over on you, you might need to visit the emergency room.
What can you do with these gargantuan planters? Drill every hole you think you will need three times over and then cut the top off so you have nothing left but a large cylinder. There’s no need to leave these beautiful, big planters with a tight top.
Just like the others, these can also be filled with soil. However, they offer the chance to transform into hydroponic gardens. With plenty of space and a feeding area, you can effectively utilize the volume needed for water-based potting. Just keep in mind to place them where the sun won’t overheat the water. And if you opt for this method, be mindful of your drainage holes. To learn more tips, follow our hydroponic journey.
Plants suitable for large planters such as these range from smaller box bushes to dwarf fruit trees. However, I advise against using the latter as they can be complicated to transport. My preferred choice for vessels of this size are perennials, which I enjoy seeing bloom repeatedly. In fact, I once created a colorful flower garden using these planters that added a unique touch not found in store-bought plants.
How would you like to grow peppers or pumpkins in your spare bottles? Let us know in the comments. We’d love to hear from you. And Happy Gardening!
This article was firstly published here.


I’m thinking if you cut the top AND bottom off those water cooler jugs, then set it right on the ground and fill with good soil, it will be just like a raised bed without the expense of the long wood or metal sides in a typical raised bed. Thoughts?
Sounds like a good idea – IF – you don’t live in a zone where nematodes can wreak havoc on those roots that go past the bottle and down into the actual soil below the bottle. Surface nematodes are a real problem!
Was wondering about the problem of plastic particles getting into everything these days. Could this be a way of getting plastic particles into the plant and eventually into the green beans that grow on the plant and then we eat them along with the beans? Just asking.
Hi Sue,
Thank you for your comment!
If you’re concerned about potential chemical leaching from plastic bottles, consider using alternative containers for growing vegetables, such as glass bottles, ceramic pots, wooden crates, or metal containers.
Many blessings and good health!
So My Question is Regarding Spinach, Kale and Any Leafy Green Vegetable. What Is The Best Way To Germinate Seeds?
Hi JR,
Thank you for your question!
Choose high-quality seeds from a reputable supplier. Ensure that the seeds are fresh and suitable for the specific type of leafy greens you want to grow.
Use clean, shallow containers with drainage holes at the bottom. Seed trays, cell packs, or recycled containers with drainage holes punched in the bottom can work well. Alternatively, you can use seedling trays designed specifically for seed starting.
Use a well-draining, sterile potting mix or seed-starting mix. Avoid using garden soil, as it may contain pathogens and weed seeds. Moisten the potting mix before filling the containers.
Sprinkle the seeds evenly over the surface of the moistened potting mix. Follow the spacing recommendations provided on the seed packet for the specific type of leafy greens you’re growing. Lightly press the seeds into the soil, but avoid burying them too deeply.
Some seeds may benefit from being covered lightly with a thin layer of potting mix or vermiculite to help maintain moisture levels and provide darkness for germination. However, not all seeds require covering, so refer to the seed packet for specific instructions.
Gently water the seeded containers using a fine mist or watering can with a rose attachment. Ensure that the potting mix is evenly moist but not waterlogged. Avoid disturbing the seeds by watering too forcefully.
Place the seeded containers in a warm, bright location with indirect sunlight. Leafy greens generally prefer temperatures between 60°F to 75°F (15°C to 24°C) for germination. Maintain consistent moisture levels in the potting mix throughout the germination period.
Depending on the type of leafy greens, germination may take anywhere from a few days to a couple of weeks. Keep an eye on the containers and ensure that the potting mix remains consistently moist during this period.
Once the seedlings have developed several true leaves and are sturdy enough to handle, they can be transplanted into larger containers or the garden bed for further growth.
Many blessings and good health!